
60W Rule: Torch or Soldering Iron for U.S. Hobby Jewelers
Structural joins in 14k, 18k, and thick sterling silver need a torch, since only flame delivers the sustained heat that hard and medium solder require. A 60W or higher soldering iron handles soft-solder repairs, findings attachment, and stone-in-place work where flame risks damage. Most working benches eventually own both, choosing tool by task rather than habit.
TL;DR:
- Use a torch for most structural work involving thick sterling or gold, as it provides sustained, high heat needed for hard and medium solders.
- A 60W+ soldering iron is suitable for delicate repairs, soft soldering, and tasks near gemstones or plating where flame damage is a concern.
- Beginners should start with a butane micro-torch or a high-wattage iron, upgrading to propane or acetylene torches and full stations as their projects grow in complexity and volume.
- Safety precautions include proper ventilation, fire-proof surfaces, and heat sinks, especially when working with open flames or in shared studio spaces.
- Owning both tools ensures flexibility, with torching handling fabrication and heavy work, and irons managing repairs, small joins, and detailed work.
Table of Contents
- Torch vs Soldering Iron for Jewelry: The Technical Differences
- When You Need a Torch: Fabrication and Heavy Work
- When a Soldering Iron Does the Job Better
- Safety and Ventilation Rules Worth Following
- Which Tool Should You Buy First?
- What to Stock: Tools, Solders, and Bench Consumables
- Where This Guidance Comes From
- A Bench Note on Owning Both Tools
- Sources
- FAQ
Torch vs Soldering Iron for Jewelry: The Technical Differences
A torch delivers heat through a directional flame that you move around the piece. A soldering iron delivers heat through a resistive metal tip pressed directly against the joint. That distinction drives almost everything else about how each tool performs on the bench.
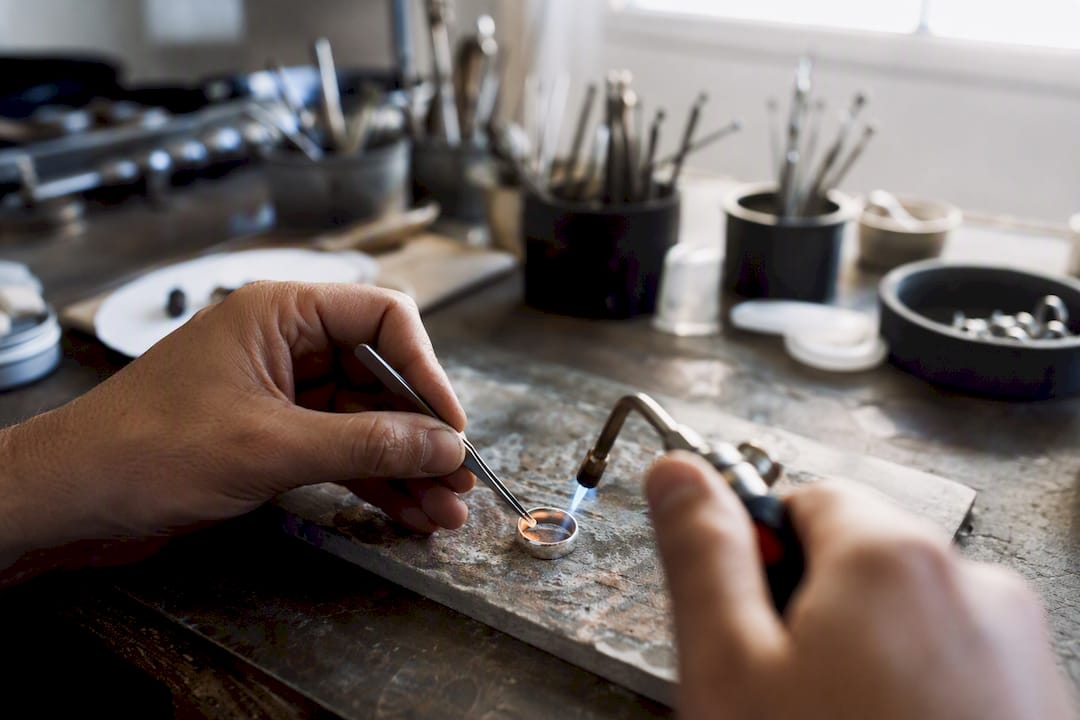
Flame heats large thermal masses fast, which matters because hard and medium solders melt at higher points than easy solder or soft solder. Torches provide the dynamic thermal reach needed for 14k and 18k gold, along with thicker sterling stock, while irons work better as supplemental tools for lower-heat jobs. An iron, by contrast, holds a steady, repeatable temperature at the tip, which makes it easier to control on small, delicate joins once it reaches working heat.
The practical failure modes differ too:
- A torch used carelessly on thin stock burns through metal or scorches plating almost instantly.
- An iron pushed onto a joint that needs hard solder simply won’t get hot enough, producing a cold joint that looks soldered but isn’t.
- Mismatching tool to solder grade is one of the most common causes of failed joints among beginning jewelers.
- Torches offer faster overall cycle time on multi-joint pieces; irons offer better precision on single, small connections.
When You Need a Torch: Fabrication and Heavy Work
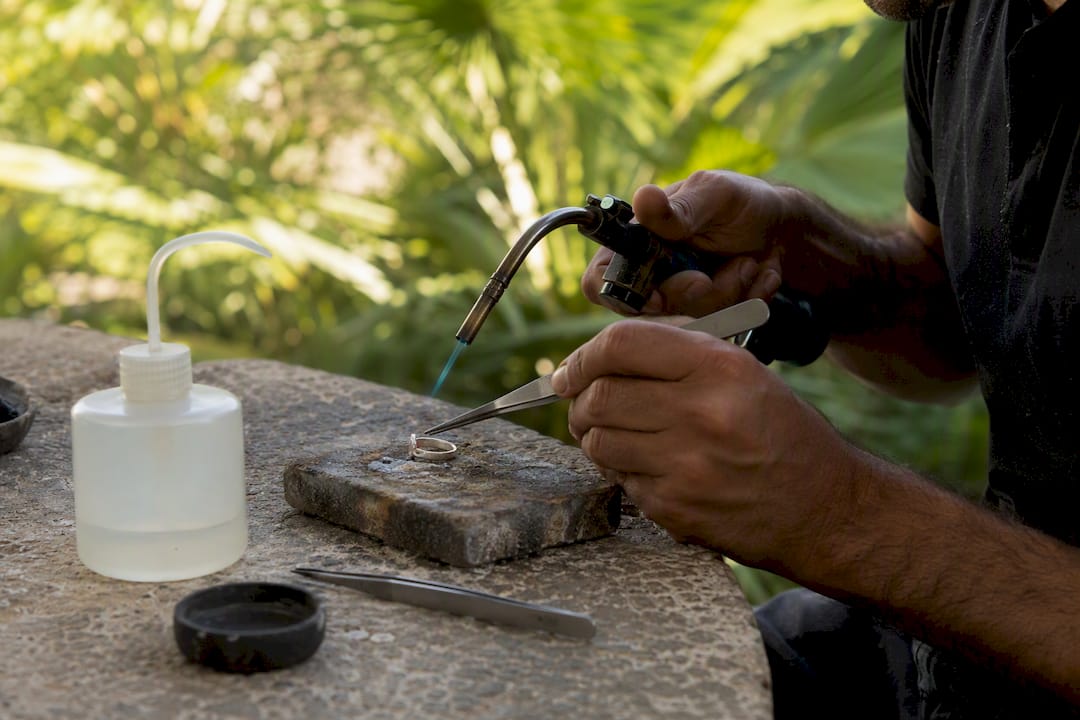
Structural fabrication is torch territory, full stop. Resizing a ring shank, soldering a bezel to its base, or building a multi-solder assembly in gold all demand the sustained heat only flame provides. The Spruce Crafts recommends a flame torch over a soldering iron for most metal jewelry work, specifically because torch heat lets hard and medium solders flow reliably across varying metal thicknesses.
Three jobs illustrate why:
- Sizing a ring shank requires heating the entire band evenly so hard solder flows into the seam without leaving a weak spot.
- Soldering chain links often means working close to finished sections, so torch control matters as much as raw heat.
- Annealing larger pieces before forming needs even, whole-piece heat that a point-contact iron simply cannot deliver.
Fuel choice depends on volume. A butane micro-torch, refillable and precise, suits hobbyists and apartment studios. Higher-volume shops often step up to propane or acetylene rigs for faster heat recovery across multiple pieces in a session.
Pro Tip: Heat the metal, not the solder. Beginners aim the flame at the solder pallion itself, which just burns it away. Direct heat at the joint and let the base metal pull the solder in.
When a Soldering Iron Does the Job Better
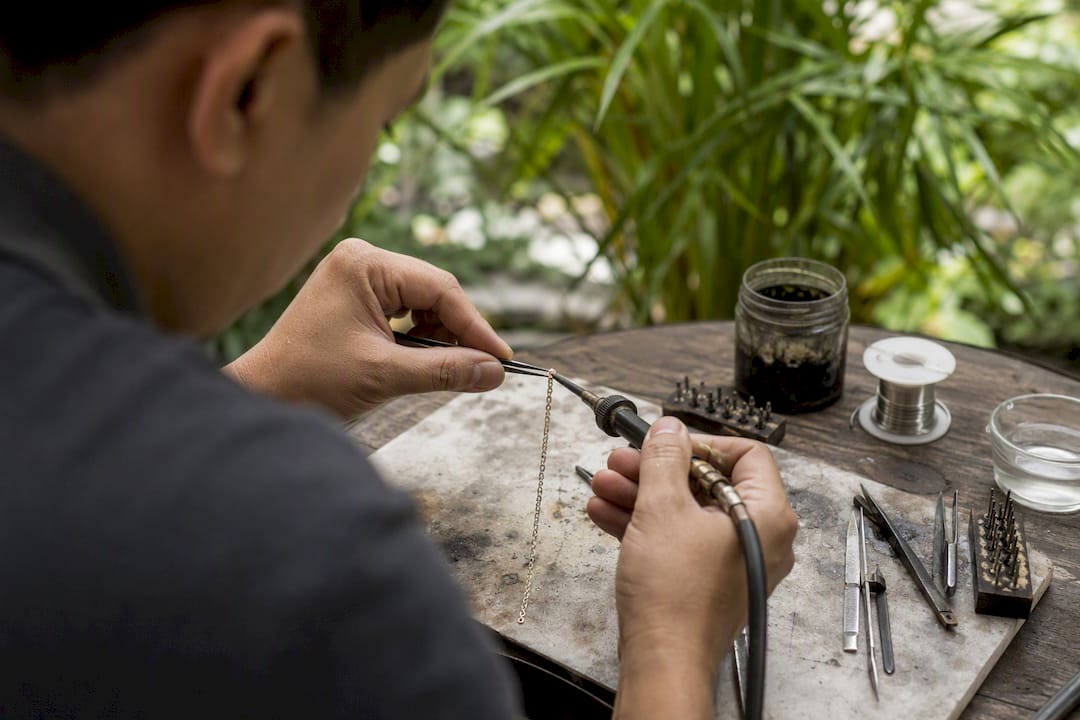
Not every joint needs flame, and plenty of repair work is actively safer without it. Soft-solder repairs, reattaching a bail, fixing a jump ring, or wirework where a nearby stone or plated surface can’t tolerate heat all favor an iron.
The spec that matters most is wattage. A jewelry-grade iron should run 60 watts or higher with a chisel or bevel tip, not the fine point tip built for circuit boards. Electronics irons routinely fail at jewelry work because their tips lack the surface area to transfer enough heat into a metal joint before it cools.
- Chisel and bevel tips make contact across a wider area, which reduces cold joints on small silver or gold pieces.
- Adjustable temperature control matters more than raw wattage once you’re past 60W, since consistency prevents scorching thin stock.
- A dedicated jewelry soldering station adds stable tip temperature and interchangeable tips for different join sizes.
- Lower-wattage irons under 40W frequently can’t sustain enough heat for anything beyond the thinnest wire.
In shared studios or apartment setups, an iron reduces flame risk and simplifies ventilation compared to running a torch. That said, irons stay supplementary. They can’t touch heavy stock or hard solder joins, so treat one as a repair companion to fabrication work, not a replacement for it.
Safety and Ventilation Rules Worth Following
Flux fumes and metal oxides aren’t harmless, and both torch and iron work need airflow. Institutional safety guidance emphasizes proper ventilation and matching the tool to the workpiece to avoid fume exposure and fire hazards.
- Work near an open window or under a fume extractor; a small desktop fan pointed away from your face helps more than most hobbyists realize.
- Keep a fire extinguisher rated for flammable gas within reach whenever butane, propane, or acetylene is in use.
- Use a heat-resistant soldering pad and flame-proof the bench surface, not just the immediate work area.
- Protect stones and plated surfaces with a heat sink (a wet cotton ball or heat paste) whenever flame passes near them.
Pro Tip: If you’re renting or working in a shared space, check your lease and renter’s insurance before running a torch indoors. Some policies exclude open-flame activity, and a soldering iron setup may be the only insurable option until you have a dedicated, ventilated space.
Which Tool Should You Buy First?
Three questions settle most of this decision:
- What metal are you working most often? Sterling and gold fabrication points to a torch; silver-plated or costume repair work points to an iron.
- What are your most common tasks? Resizing, bezel work, and chain assembly need flame. Findings, jump rings, and small repairs don’t.
- What’s your ventilation situation? No window, no extractor, no dedicated space: start with an iron and add torch skills once your setup improves.
Starter purchases are simple. A butane micro-torch or a 60W+ jewelry iron covers most beginner projects, paired with flux, a range of solder grades, and a pickle solution for cleaning oxidation after soldering.
- A solder pick for placing tiny pallions precisely
- A third-hand tool or bench block to hold pieces steady while you work
- A heat-resistant bench block and a quench/pickle setup for cooling and cleaning joints
Upgrade to a propane or acetylene torch, or a full soldering station with interchangeable tips, once you’re producing pieces regularly enough that cycle time and heat recovery start slowing you down.
What to Stock: Tools, Solders, and Bench Consumables
A butane micro-torch worth buying has refillable fuel, piezo ignition, and a flame you can narrow down for small joins. Torches like the Blazer Stingray are commonly recommended for fine detail work because they give precise, controllable flame at a hobbyist price point.
On the iron side, prioritize wattage and tip variety over brand names. Electronics irons fail here for a simple reason: their tips are built for small-gauge wire, not metal mass.
- Solder grades: hard solder for structural, high-heat joins; medium for secondary joins on the same piece; easy or soft solder for low-heat repair work.
- Flux: prevents oxidation during heating and helps solder flow into the joint rather than balling up.
- Pickle: a mild acid solution that removes firescale and oxidation after soldering, restoring a clean surface.
Providence Wholesale Jewelry stocks sterling silver wire, soldering kits, and starter components sized for exactly these projects, whether you’re repairing a chain link or fabricating a new piece from scratch.
Where This Guidance Comes From
Providence Wholesale Jewelry supplies jewelry-making components and finished pieces to designers, retailers, and hobbyists building out home studios. This guide was written by Ronald, drawing on bench practice and current industry sourcing for tool selection and technique.
If you’re new to soldering, the fastest path forward is a beginner bench class, practice runs on scrap or non-precious metal, and real safety gear before your first torch session. Skipping the class and learning from video alone is the single most common reason beginners waste solder and metal on avoidable cold joints.
A Bench Note on Owning Both Tools
Most repair frustration disappears once you stop forcing one tool to do the other’s job. An iron sitting next to a torch solves more workshop problems than either tool alone.
Start with whichever tool matches your most common project, learn its limits, and add the second tool once you feel those limits regularly.
— Ronald
Sources
- Goldsmithing torches vs goldsmithing soldering irons: which is right for you? (2026)
- Using a soldering torch when making metal jewelry
- Soldering jewelry overview | Simply Smarter Circuitry Blog
- Soldering safety — University safety library (Drs. Illinois)
FAQ
What Is the Best Tool for Soldering Jewelry?
There’s no single best tool. A torch is standard for structural work in gold and thicker sterling, while a 60W+ soldering iron handles soft-solder repairs and delicate, stone-near joins.
Which Is Better, a Soldering Iron or a Torch?
Neither is universally better. Torches flow hard and medium solder reliably across thick metal, while irons offer more control and lower fire risk on small, low-heat repairs.
Can You Use a Soldering Iron for Jewelry?
Yes, for soft-solder repairs, attaching findings, and jump ring work, provided the iron is 60 watts or higher with a chisel tip, not a fine-point electronics tip.
Will Gold Melt With a Soldering Iron?
A standard jewelry iron won’t generate enough sustained heat to melt gold or flow hard solder on gold pieces. That work needs a torch’s directional flame and higher thermal output.